 Toyo Drive
Toyo Drive
Toyo Drive
Assembling a kids ride-on car can be an exciting yet challenging task for parents. According to recent market research from the Toy Industry Association, ride-on toys continue to grow in popularity, with sales increasing by 12% over the past two years. Families are investing in high-quality and safe products to enhance their children's play experience. However, many adults feel overwhelmed when it comes to understanding how to assemble a kids ride-on car properly.
Proper assembly is crucial for ensuring safety and functionality. A survey by the Consumer Product Safety Commission revealed that improper assembly contributes to nearly 25% of ride-on toy injuries. Many parents may overlook the importance of following instructions carefully or might rush through the process. This can lead to malfunctioning toys. Addressing common pitfalls during assembly can greatly enhance both the user experience and the longevity of the ride-on car.
In this guide, we'll cover essential tips on how to assemble a kids ride-on car effectively. Detailed steps will help simplify the process. We aim to empower parents with the knowledge to tackle assembly with confidence. With the right information, parents can ensure that their child's ride-on toy is not only fun but also safe and durable.
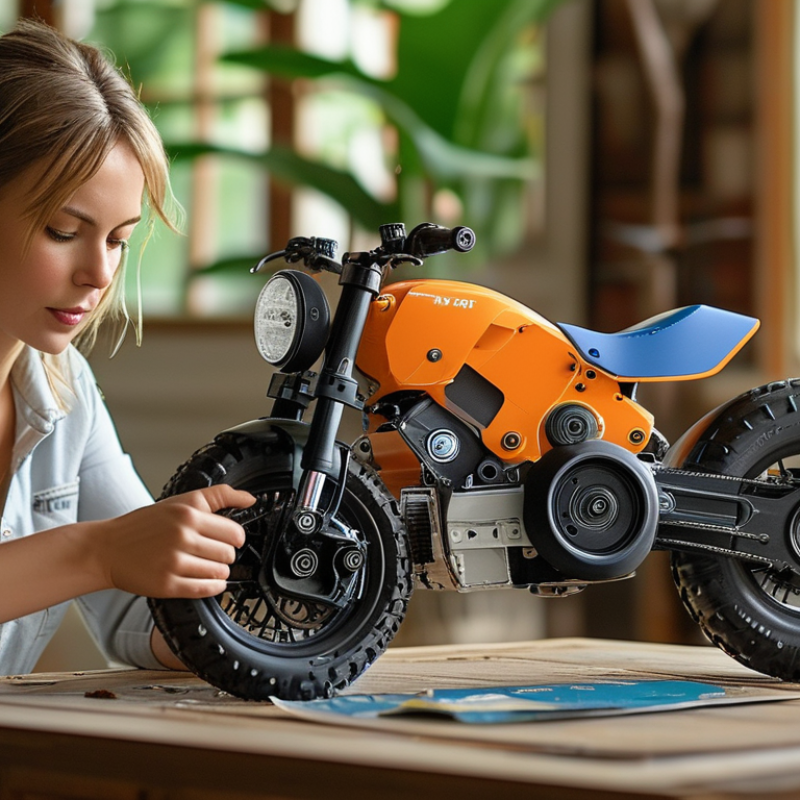
Choosing the right kids ride-on car is crucial for easy assembly and safe use. Recent industry reports show that over 70% of parents prioritize safety features when selecting a ride-on vehicle. Look for models with sturdy frames and safety belts. These features greatly reduce the risk of accidents, making your assembly experience smoother and worry-free.
When examining ride-on cars, consider their weight capacity. Some models can handle up to 110 pounds, while others are limited to 60 pounds. It's essential to match the car to your child's weight for optimal performance. Additionally, check the ease of assembly mentioned in user reviews. Assembling a complex model can lead to frustration. Many parents report spending over an hour on assembly while some simpler designs take as little as 15 minutes.
Remember that not all assembly instructions are clear. Confusing diagrams can lead to mistakes. Some parents recommend finding online tutorials or user videos to guide you. Take this extra time to ensure everything fits correctly. A well-assembled car enhances your child's safety and enjoyment.
| Tip Number | Tip Description | Additional Notes |
|---|---|---|
| 1 | Read the Manual Thoroughly | Start with understanding all parts. |
| 2 | Choose a Spacious Work Area | A clean, flat surface helps avoid misplacement of parts. |
| 3 | Organize All Parts Before Starting | Lay out wheels, body, and screws for easy access. |
| 4 | Follow Assembly Steps Sequentially | Avoid skipping any steps as per the manual. |
| 5 | Use the Right Tools | Ensure you have a screwdriver and other necessary tools. |
| 6 | Enlist Help if Needed | Two pairs of hands can make the process easier. |
| 7 | Double-Check Connections | Ensure everything is securely attached before use. |
| 8 | Test the Features | Make sure all buttons and controls are functioning. |
| 9 | Keep the Kids Away During Assembly | Safety first, avoid distractions. |
| 10 | Read Safety Warnings Before Use | Ensure all safety precautions are in place. |
: Look for sturdy frames and safety belts. These features are vital for reducing accident risks.
Different models handle various weights. Some can manage up to 110 pounds, others only 60 pounds.
Complicated models can frustrate parents. Simpler designs can take just 15 minutes to assemble.
Not always. Some parents find instructions confusing. Online tutorials can help clarify assembly.
Check the seatbelt, wheels, and overall stability. Ensure everything locks tightly and works correctly.
Pay attention to sounds. They may signal loose parts that need adjustments or fixes.
Yes, consider reflectors or bright colors. They enhance visibility but ensure all parts function properly.
Yes, quirks may arise. Note any problems for improvements to enhance safety during future rides.
Assembling a kids ride-on car can be a fun and fulfilling project, provided you follow the right steps. When considering how to assemble a kids ride-on car, it's crucial to start by choosing the right model that suits your child's needs. Gathering all necessary tools and materials beforehand will streamline the assembly process.
The assembly begins with the base and frame, ensuring a sturdy foundation. Next, install the wheels and steering mechanism carefully to ensure smooth operation. Finally, don't forget to add safety features and conduct a thorough test of the ride-on car to ensure it's safe for use. With these essential tips, you'll be well-equipped for a successful assembly experience.
